Showing posts with label sally hansen. Show all posts

Wednesday, May 23, 2012

Nicole by OPI Turquoise Texture

I recently wanted to do something fun, but not too complicated.  I decided to use one of my texture coats that I haven't really worn before, Turquoise Texture from Nicole by OPI.  I saw online somewhere that the crackle will follow your brushstrokes (duh!), so I was excited to try something a little different, a diagonal stroke.  

For my base coat, I used Sally Hansen Fire Opal in Amber Opal.  It is one of the polishes in my collection that is absolutely gorgeous that I totally forget about.  I tried to get a couple of shots of it, but they really don't do it justice at all.


Next I used the texture coat and did a kind of diagonal stroke.  I love the way it turned out.  The color combination was awesome, especially when we got out in the sunlight at the zoo the next day!


Wednesday, April 4, 2012

Ice Queen Glitter

Just a quick one today, I'm about to hop in the shower then head down to Seattle for a (hopefully mostly dry) visit to the zoo with friends.  Spring Break!  So, today I have some shots of Sally Hansen Ice Queen glitter.  It's a clear base with large silver and turquoise glitter and small silver and holo microglitter.  It looks really pretty in the bottle, but I found when I put it on my nails it was more sparse than I would have liked.  Here I have it layered over Pure Ice Silver Mercedes.  It's pretty, but less impressive than I originally hoped.  


Wednesday, March 28, 2012

Pure Ice Oh Baby!

I was recently at Walmart and checked out these Pure Ice polishes.  They're cheap, but there are some fun colors.  I'm always looking for interesting topcoats, so when I spotted Pure Ice Oh Baby! I couldn't resist putting it in my basket. 

The first time I wore it, I wore it over Essie Go Overboard, which on it's own is a gorgeous dark teal cream.

Photo Credit: ommorphia beauty bar
When I added a layer of Oh Baby! on top, it was completely transformed.  I was in love!  It added some awesome depth as well as a holographic effect from turquoise to purple.


More recently, I wanted to experiment with some other colors, and I decided to pair it with Sally Hansen Xtreme Wear in Grey Area. 


This is a terrible photo, but it turned out kind of cool.  It added tons of blue shimmer on top of the grey.  I didn't get a better picture because I went to bed too soon and it got mushed about, so I took it off really soon after I'd done it.


I'm so glad I added this one to my collection.  It's versatile, and I can't wait to try it over more colors!

Do you have a favorite effect polish?

Wednesday, March 21, 2012

Sally Hansen Salon Effects Prep's Cool

When I first bought my Sally Hansen Salon Effects back in November, I actually bought four boxes.  I finally decided to use another one, and went with Prep's Cool, a cool black and silver argyle design.


I had even less trouble with application this time - so easy!  I used acetone when I went to take it off and the silver came off super easy, but the black took a lot more work.  I did have an idea that you could easily remove all the silver and be left with just the black diamonds on your nails - a creative mind could find something fun to do with that!


This was tons of fun to wear, and I got a bunch of compliments on it!

Friday, March 2, 2012

Patchwork Mani

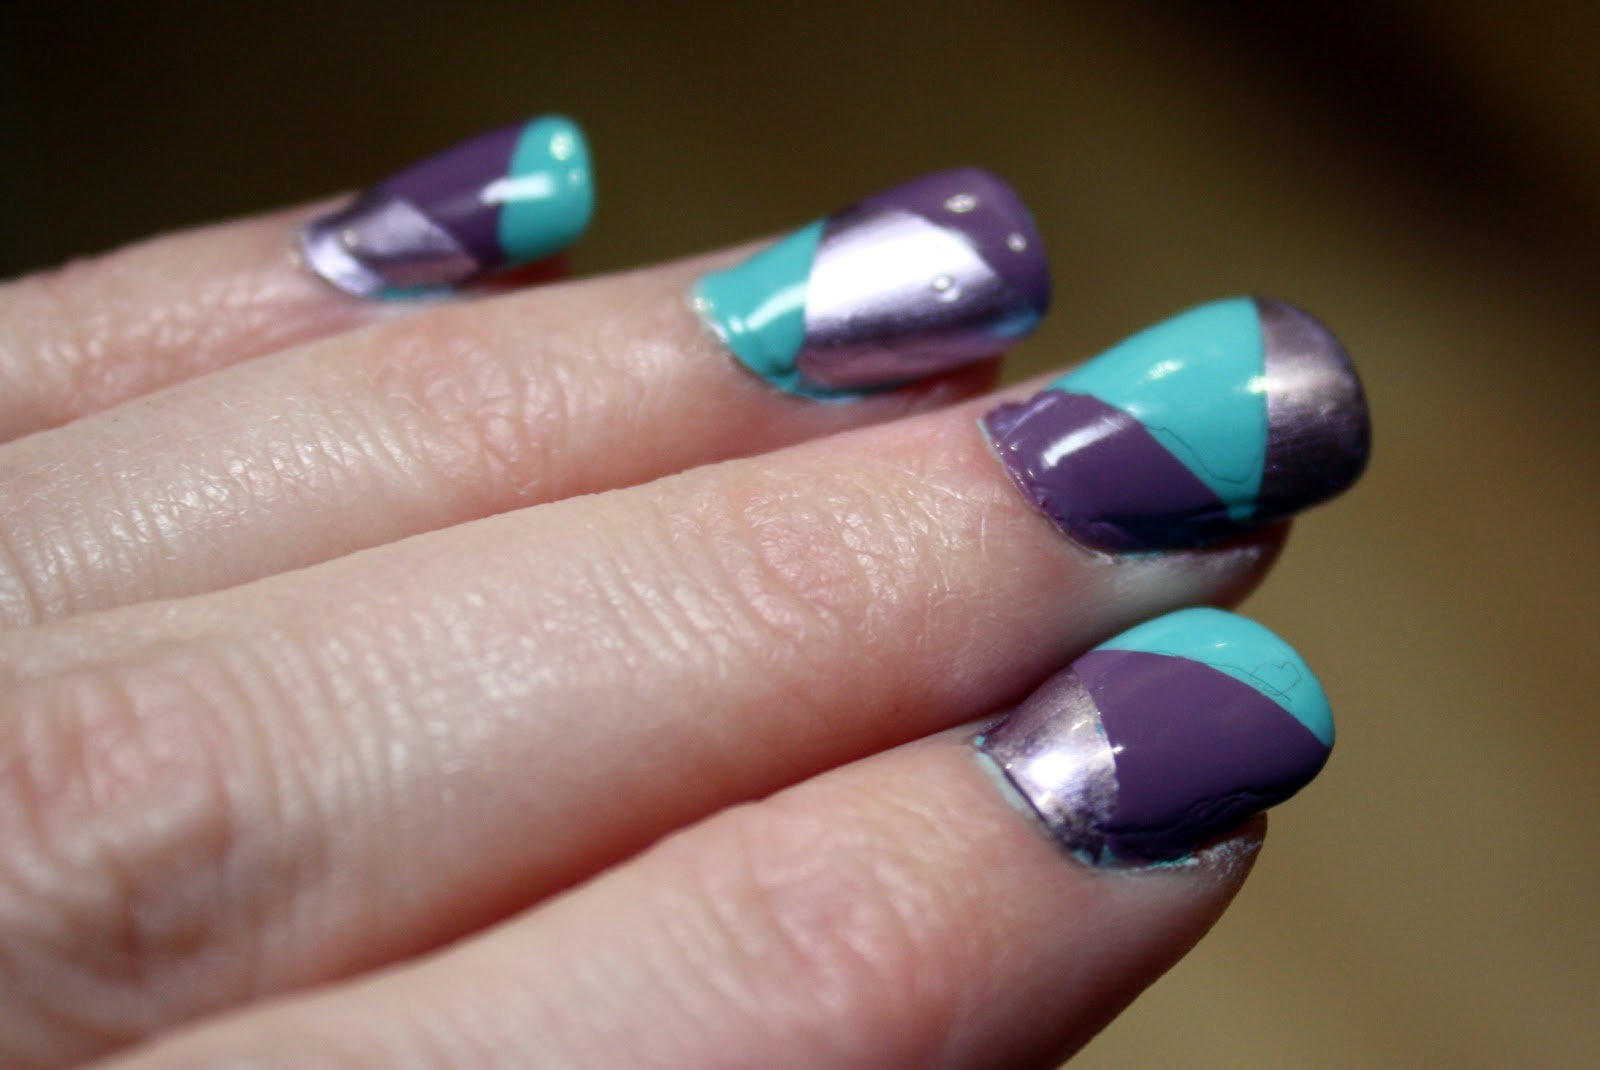
One of my favorite nail blogs is Chloe's Nails.  She does a lot of manicures that inspire me, and are not super, super hard to replicate.  My current manicure is inspired by her Patchwork Mani, and she's got a tutorial posted here.   You can also look at the patchwork mani label on her blog for a bunch of really cool color ideas.  

Mine never looks as good as hers always do - she gets amazing clean lines.  But, it was also my first time trying this particular design, so I'm trying to cut myself some slack. 


I recently picked up China Glaze For Audrey, and I've been wanting to try it out.  I put that on as my first coat and actually took photos of it by itself because it's so pretty, so I'll have those up sometime soon.  I matched it with Wet N Wild Bite the Bullet and Sally Hansen Moonstone Chrome for a little pop.


I have to say, I am LOVING the Seche Vite I bought.  It comes in really handy for doing nails at night and not having them get wrecked while I'm sleeping, and also for doing layering because your layers dry a ton faster with it.


My cuticles look a little funky because I've got growout, and I was going to go get a fill today but plans got changed and now I won't be able to do it until Tuesday.  It will be 3 full weeks at that point - too long!  


I will definitely be trying this again - it is a nice one to use for holidays, different greens for St. Patrick's Day etc.  

Monday, February 27, 2012

Funky Frenches

I like doing funky French manicures.  Here are some of the ones I've done and photographed in the last few months.  Sorry for the poor quality cell phone photos, these are from when I was just posting my nails on Facebook and not much else!


Christmas Mani - Clear base, Sinful Colors Show Me the Way tips with an Ulta After Party topcoat


One of my all time favorites - Ulta Alter Ego with Sally Hansen Chrome Black Pearl tips 


Sinful Colors Black on Black with Essie Matte About You, then a clear topcoat for glossy tips


Another Christmas Mani - Ulta Jaded with Ulta After Party tips


I'm not sure if the tips here were black or a dark gray, then I applied a 
Sally Hansen Nail Prisms South Sea Pearl topcoat


Classic white tips with a Sinful Colors Frenzy topcoat


Sinful Colors Rise and Shine with Sally Hansen Insta-Dri Emerald Express


I'm not sure what this pink is, I don't think I have it anymore.  Sinful Colors Black on Black tips

What's your favorite way to do a French tip?

Monday, February 20, 2012

Multicolor Crackle


I recently got a couple of new crackle polishes, and I'd seen the idea of a multicolored base under crackle several places and thought it would be cool to try.

The polishes I used for the base coat were Sinful Savage, Sinful Dream On, Piggy Polish Envy and the orange is Neon Pumpkin, which is a Nail Art Pen from Nubar.  The topcoat is Sally Hansen Ink Spill.

This was a really fun mani, and it lasted a few days.  The clear topcoat really made it pop since the Sinful polishes were matte - I didn't know before recently that most neon polishes come out matte - and the crackle also comes out somewhat matte.  I like the look a lot better with shine!

Thursday, February 9, 2012

Sally Hansen Salon Effects: I Love Lacey

I have been wanting to try Sally Hansen Salon Effects since I first saw them in the stores.  They are sticky strips made of real nail polish that come in all sorts of colors and patterns.  Recently, Fred Meyer had them buy 2 get one free, so I finally got some.  Here's one of the ones I bought:


Cute!  For my first try though, I decided to test out the red lace pattern called I Love Lacey for my first time around, it seemed like a fun choice for my birthday weekend.


I LOVE them.  If they were more affordable, I would wear them all the time.  As it stands, you'll pay $8.50 - $10 depending on where you get them, which seems pricey for a one time use.  They do have sticking power though, so if you get your nails done at a salon it might be worth it to try these out.

I watched several videos on YouTube before applying them for the first time just to see what the process looked like.  A few of the reviews seemed to think they were difficult, but I had no trouble at all.  I found the entire process very easy.  I did have to re-do one nail because I chose the wrong size and could see a gap on one side, but it was easy to peel it right off since I did it right away.

It took me about a half hour to apply these, which for me seems great.  When I do my nails, it usually takes at least that long.  I like to get good coverage and allow for plenty of dry time, and if I'm doing something fancy like french tips or nail art, there is often waiting time between layers.

First, sorry for the bad quality photos - they were all taken with my cell phone.  They should be clear enough to see.


Here are the strips right after I put them on:


One of the great things about these is that there is no dry time!  It's weird to be able to go about your business right after a manicure and not worry about smearing it or denting the polish.  Sometimes nail polish can stay tender for hours and if you hit it or rub it the wrong way, it will ruin your manicure.  I did put a clear polish top coat over these because I thought it would help them keep from chipping around the tips of my nails.

Here are the strips after wearing them for 6 days:


As you can see, they still look pretty great.  One of my nails had gotten a slight chip at the tip, but it was barely noticeable.  You CAN see grow-out happening, which is one reason it's important to get them as close to the cuticle as possible when first applying them.  I found it to be slightly annoying after the fourth day or so, but I also realized it was not noticeable to anyone but me.

I did not do many dishes during the time I had them, but other than that I went about my routines as normal.  I would say that these have really great staying power - I can totally see them lasting the 10 days listed on the box.  Possibly longer, though the grow-out might start to be obvious at that point.  I only lasted for 6 days in them because I'm a polish-a-holic and wanted to do a new color after that many days.  If you want to try something fancy, but have no patience for polish or re-doing your nails every few days, these would be perfect!

Other than the price, the only downside to these is that they were a real bitch to remove.  The box says the come off with regular nail polish remover, and they DO... but it took me almost 30 minutes to completely remove the polish from my nails.  Part of it was that they come off weird, there were kind of... chunks?  Goo balls.  I'm pretty sure it was all a result of the sticky stuff that attaches them to the nails.  It was stuck all over.  Also, red polish is often difficult to remove from around the cuticles anyway, so that didn't help.

All in all, I still give them a thumbs up.  I love being able to have a patterned nail without all the tape or strips or brushes or stamps - I'm not great at freehand.  Compared to purchasing plates & stamps, these are also cheaper if you just want them for a special occasion.

Have you tried these?  What did you think?

I am a small time blogger.  No one paid me for this review, nor did anyone give me free nail polish (too bad!).  These are just my opinions about a product I tried & loved.  Originally published Nov 2011 @ Scientific Nature of the Whammy.

Tuesday, January 31, 2012

Hi!

I've always loved nail polish and have a decent sized collection... well, for an amateur.  I have nothing compared to some of the bloggers who have really nice polish blogs.  Since my kids are a little older now and I'm past the baby stage of fingers in mouths and endless hand washing etc., I have been painting my nails a lot and have gotten interested in nail art a bit.  It all started with Pinterest (of course it did...) and then I started following Nailside, Mad Manis, and Chloe's Nails and it just grew from there.

I've been posting photos of my manicures on Facebook, but I decided I wanted a place online to put them as well, where I could note which polished I'd used and write a little more about some of my manicures.  Thus, Nail Me was born!  As of now, I've been taking photos of my manicures with my phone.  There were a couple of reasons for that, a big one being that the autofocus was broken on my regular camera lens so I couldn't take a photo of my own hand and focus it at the same time.  Moving forward, I'm going to figure out how to use my Canon to take the photos so they'll be better quality images and make sure the colors stay true.

I'm definitely not as talented as some of the bloggers I read in this arena, but I'd like to think I come up with a good color combo once in a while!  I'm not going to post on a regular schedule, it may only be once a week, it may be more.

I am going to go back and post photos that I've got saved as well so I can note the polishes and share my favorites.  In the meantime, I picked up two new crackles today:


I'm looking forward to trying them out since the only one I currently have is a silver that's metallic and glittery.

Monday, January 30, 2012

Crackalackin'

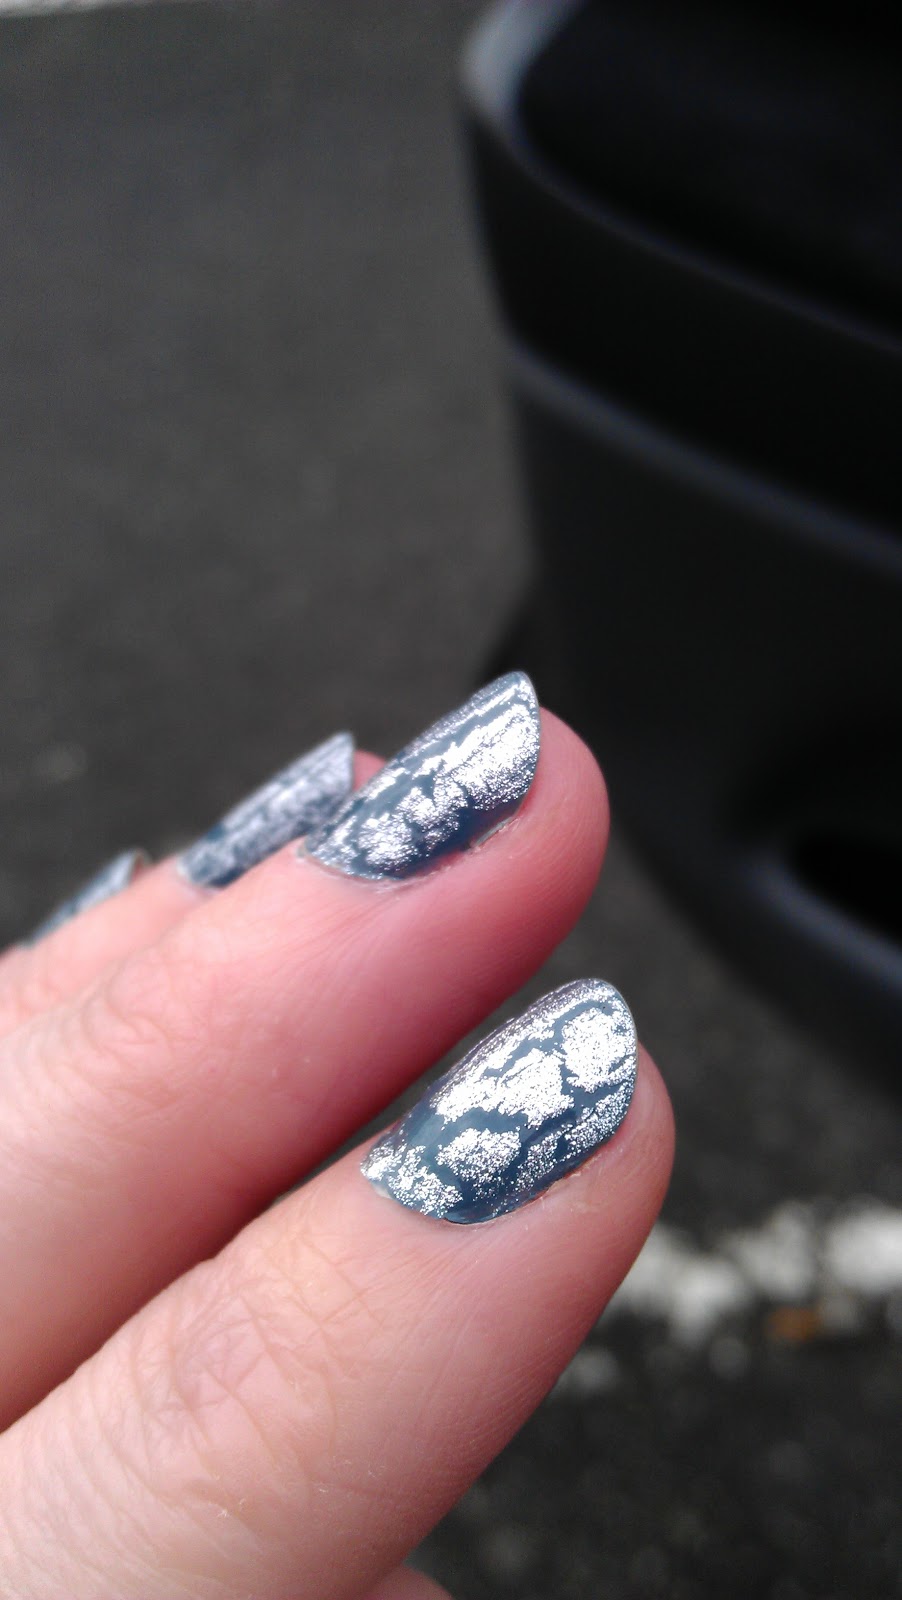
One of my new favorites is Revlon Chic.  It's a greyish blue that I found at Target last week.  I put it on one nail in the store thinking it might be a matte polish (it was in with a couple other matte polishes and didn't have it's own spot).  It wasn't, and I put it back, but I didn't even get to the registers.  I kept looking down at it and knew I had to have it.

Last night, I wanted to do something more than plain polish, but keep it simple.  I put on the Revlon Chic with the Sally Hansen silver crackle.  Love it.


I want to get more crackle polishes, especially ones that are not metallic, but I was looking today and didn't feel like spending the money.  I may do some research online on cheaper crackles and how they compare to Sally Hansen and OPI.